GoBoard Wedge
- Product Descriptive Name
- On-Site Customizable Shower Pan Component
- Product Short Description
- GoBoard Wedge is a pre-sloped tile backer building panel used to complete tile shower pan projects in residential remodels and new builds.
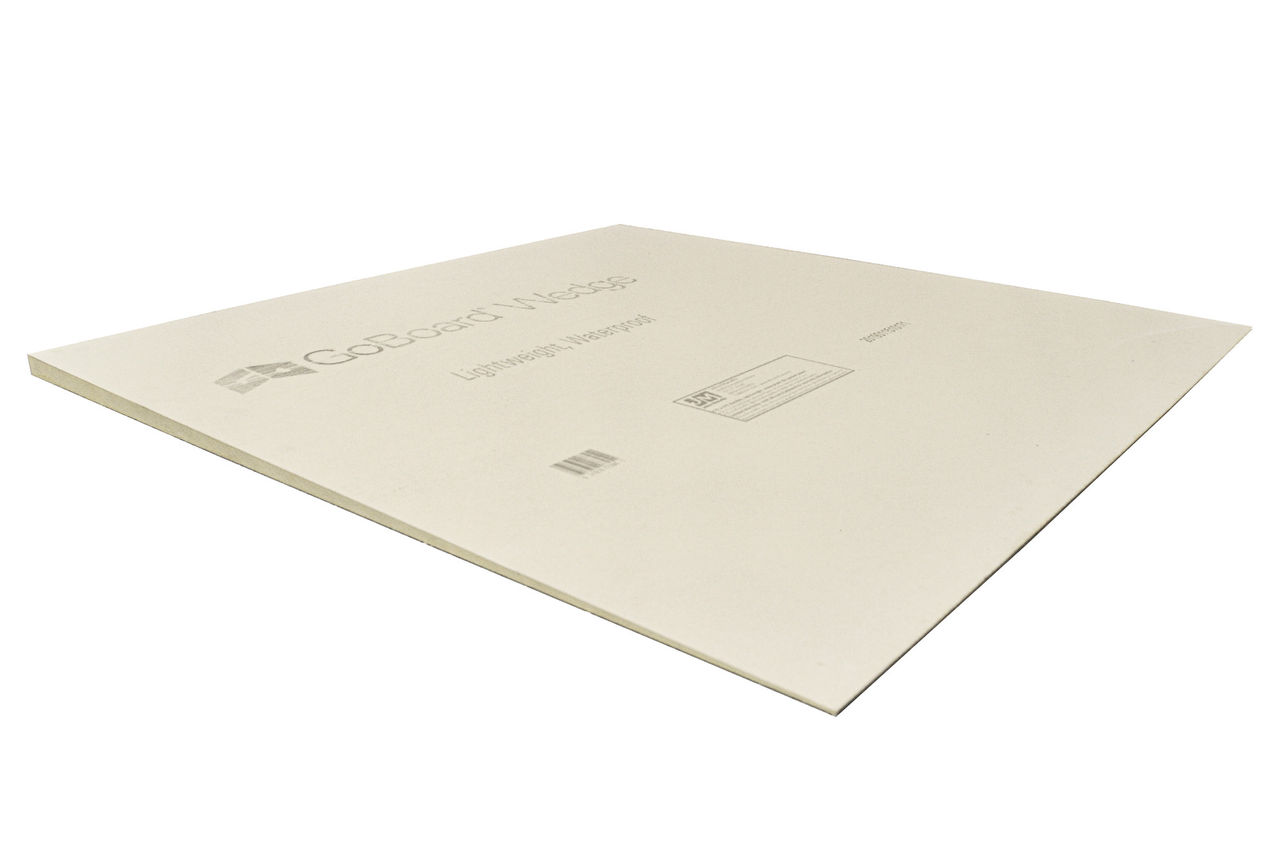
Fast Installation Lightweight and east to cut and handle, GoBoard Wedge saves time on popular tub-to-shower conversion remodel projects.
On-site Customization No need to wait for preform pans that could require further cutting. GoBoard Wedge is cut to fit on-site using 4 panels for most shower pan configurations.
Low Profile for Curbless Showers Pre-sloped panel 1/4" per foot and measures 1/8" thick near the drain, 1 1/8" thick near the wall.
Resistance to Fungi/Bacteria ASTM G21/G22 No growth

VERSATILE AND TIME SAVING SHOWER PAN SYSTEM
GoBoard Point Drain Shower Pan system is used for curbed or curb-less applications and is great for new shower build-outs or tub to shower conversions.
SITE PREPARATION
Walls:
Install 1/2-in (or 5/8-in) GoBoard to wall studs using GoBoard Fasteners spaced every 8-in or GoBoard Washers spaced every 12-in while leaving 1/8-in gaps between the subfloor and bottom edge of GoBoard and all board joints. Fill all gaps with GoBoard Sealant or GoBoard Pro Sealant and spread excess sealant with a putty knife at least 1-in from either side of the joint. For the joint near the subfloor, spread the sealant roughly 2-in up from the subfloor. For more detailed instructions, please visit the GoBoard Tile Backer product page.
Wood Subfloor:
Make sure the floor is level. A level floor is required for proper installation. Measure and find the center of the shower pan area (or as close to the center as the framing will allow). Using these measurements, mark the center of what will be the drain hole. For possible layouts visit the GoBoard Wedge product page.
Cut a 5-in diameter hole with a jig-saw, hole saw, or other means. For remodels, ensure the existing drain location fits within the layouts and dimensions found on the GoBoard Wedge product page. The top of the waste pipe MUST be at least 1 5/8-in below the top of the subfloor. For remodels, cut the existing waste pipe as needed using an inside pipe cutting tool.
Concrete Slab Subfloor:
Ensure the cement (concrete) slab in the shower pan area is level. Use SLU as needed, in order to level the shower pan area.
Begin by breaking the concrete around the waste pipe to produce a hole that is roughly 5 1/2-in to 6 1/2-in in diameter, around the waste pip. The hole should be centered with the waste pipe. Use a tape measure to ensure the hole size is within this range, measuring in several locations.
Using a speed square and tape measure, continue to dig out the depth of the hole around the pipe. The recommended depth is 3-in while the recommended diameter is 5 1/2-in to 6 1/2-in.
Continue breaking the concrete around the pipe and remove debris as needed with a shop vac. The hole is complete when 3-in depth is achieved at the required hole diameter range.
Using a speed square and permanent marker, mark the exact slab height onto the pipe. Using a hack saw or other means, cut the PVC waste pipe above the subfloor elevation mark you made with the permanent marker. To prevent debris from entering the waste pipe, stuff a cloth inside and below the cutting area. Once the cut is complete, vacuum out the debris and remove the cloth.
Using an inside hole saw and tape measure, carefully mark waste pipe exactly 1 5/8-in below the slab elevation. Cut through the pipe slowly to produce a level cut around the perimeter. Using a file, debur the pipe and clean out all of the remaining debris around and inside the waste pipe.
DRAIN BODY
Fold the integrated membrane inward, and then fold the corners inward, securing the membrane using a piece of painter's tape so the screw holes of the clamping collar are accessible.
Wood Subfloors:
Install GoBoard Point Drain body to the waste pipe, and fasten to the subfloor using the provided screws. Use PVC primer and solvent cement to glue the drain body to the waste pipe.
Remove the painter's tape and unfold the membrane to view the waste pipe inside the GoBoard Point Drain body. The waste pipe should be within 1/4-in or less from the fins to ensure a secure and water tight connection.
Cement Slab Subfloors:
Without adhesive, place the GoBoard Point Drain onto the waste pipe ensuring the square clamping collar rests on the concrete slab and the waste pipe is securely inserted into the drain body. Using a tape measure, properly align the square clamping collar so the edges are parallel with the adjacent walls. Once the drain is positioned properly, mark the proper location by tracing a square around the camping collar with a permanent marker.
Using a margin trowel, apply modified thin-set mortar around the perimeter of the hole leaving enough space for application of the PVC cement (or ABS). Apply modified thin-set mortar to the drain body such that the mortar approximates the volume of the hole around the waste pipe. Use excess mortar so that it will squeeze out as the drain is installed. Modified thin-set mortar with peanut butter consistency works best to prevent sag. Make sure the waste pipe and drain body bonding surfaces are clean.
With all bonding surfaces cleaned, apply PVS (or ABS) cement on the outside surface of the waste pipe and then on the inside bonding surface of the drain body, following the manufacturer's instructions.
Carefully align the drain body with the waste pipe and slowly push the drain body onto the waste pipe. As the drain body is slowly pushed down onto the waste pipe, excess thin-set mortar will begin to squeeze out. At the same time, rotate the drain body such that it is positioned squarely within the square permanent marker outline. Continue pushing the drain body down until the square clamping collar firmly rests on the concrete slab. Remove all excess thin-set mortar from around the perimeter of the drain body.
Unfold the integrated waterproofing membrane to look inside the drain body and double check that the waste pipe is securely inserted inside, such that the pipe is near the fins.
Important:
Make sure the waste pipe cannot be pushed downward during the GoBoard Point Drain assembly installation. There are numerous methods to secure the waste pipe, but the simpest method is to place blocking underneath the drain pipe to achieve the correct distance from the subfloor.
CURBED SHOWER
Refold the integrated membrane and corners on the GoBoard Point Drain and secure with painter's tape, so that the edges of the clamping collar are exposed.
Measure the distance between the left and right walls of the shower entryway. Ensure there is a 1/8-in gap between the GoBoard Curb and the walls. If using more than one GoBoard Curb, ensure there is also 1/8-in gap between each section. Cut each curb section to the required length.
Where the curb will be positioned, apply two 1/4-in beads of GoBoard Sealant or GoBoard Pro Sealant to the subfloor.
Apply several 1/4-in beads of sealant to the underside of the curb(s) which will have contact with the subfloor. Press GoBoard Curb into the sealant on the subfloor, and then spread excess sealant onto the subfloor and the curb on the shower side. Remove excess sealant on the bathroom side of the curb.
Optional -- Secure GoBoard Curb to the subfloor with 4 1/2-in screws (1 per linear foot) to prevent accidental curb movement during the remaining installation steps. Then apply GoBoard Sealant or GoBoard Pro Sealant over the lag screw locations to ensure a watertight installation.
CUTTING THE WEDGES
Meaure the distance between the side walls, and between the back wall and the clamping collar. This gives you the measurements for cutting the back GoBoard Wedge panel. For the measurements to cut the front GoBoard Wedge panel, measure between the curb and the clamping collar. Account for the required 1/8-in gaps when measuring and cutting.
Transfer the measurements for the front and back panel, by marking them on the front and back GoBoard Wedge panels. Using a straight edge, cut the wedge panels into rectangles and discard the remaining pieces. (Please note - the thinner side of GoBoard Wedge panel should always be placed by the drain.)
After cutting the front and back GoBoard Wedge, place them into the shower pan area. Ensure that there is a 1/8-in gap between the wedge panel and the clamping collar, as well as the wedge panel and the side walls.
Using the clamping collar corners as reference points, mark the 45° angles (to the wall) as cut lines on the left and right GoBoard Wedge panels.
Important: DO NOT mark the angles from the corners of of the shower pan perimeter. The angles MUST be 45° from the center of the drain location to the wall - not to the corners of the walls.
After removing the wedge panels from the shower area, cut along the 45° marks on the front and back wedge panels. Dry fit the panels to ensure there is a 1/8-in gap at the clamping collar, side walls, and the curb. Trim the wedge panels as needed to maintain the 1/8-in gap. Note: Use a straight edge to cut (always cut to the inside of mark 1/16-in).
Measure the distances of the side walls form the inside of the curb to the back wall, then measure the distance between the right and left side walls to the clamping collar. Transfer these measurements to the right and left GoBoard Wedge panels. Cut the right and left wedge panels into rectangles and discard the remainders.
Dry fit the right and left wedge panels into the shower pan area to ensure the 1/8-in gaps.
Place the 45° cut front and back wedge panels on top of the right and left rectangular cut panels. Using the front and back panel edges as templates, mark the 45° angles onto the right and left wedge panels.
Important: DO NOT mark the angles from the corners of of the shower pan perimeter. The angles MUST be 45° from the center of the drain location to the wall - not to the corners of the walls.
After removing all GoBoard Wedge panels from the shower pan area, cut along the 45° angle marks to final size.
Dry fit all four wedge panels to ensure there is a 1/8-in gap at between the wedge panels and the clamping collar, outside walls, and between all of the GoBoard Wedge panels.
Mix thin-set mortar per manufacturer's instructions and apply to subfloor using a 3/16-in V-notched trowel. Use a 1/4-in x 1/4-in square trowel if additional height is needed or rough subfloor.
Install the right and left wedge panels by pressing firmly into the thin-set. Ensure there is a 1/8-in at the clamping collar and side walls. Note: The thicker side of the wedge panel is placed by the side walls.
Next install the front and back wedge panels by pressing firmly into the thin-set. Ensure that there is a 1/8-in gap at the clamping collar, the curb, and between the wedge panels. Note: The thinner side of the wedge panel is placed by the drain.
SEALING THE SHOWER PAN
Fill the 1/8-in gaps with GoBoard Sealant or GoBoard Pro Sealant, including between the clamping collar and the wedge panels. Spread the excess sealant with a putty knife to at least 1-in from either side of the joint. For the 90° inside corners, use a corner putty knife to ensure the inside corners are completely covered and sealed.
SEALING THE DRAIN
After removing the painter's tape and folding the membrane edges up, apply a 1/4-in bead of GoBoard Sealant or GoBoard Pro Sealant on top of the clamping collar and under the membrane. Fill the remaining gaps between the clamping collar and wedge panels, and apply another 1/4-in bead of sealant around the perimeter of the drain body approximately 1-in from the clamping collar.
Unfold the membrane so it's lying flat over the beads of GoBoard Sealant or GoBoard Pro Sealant and the wedge panels. Using a flat putty knife, start spreading sealant underneath the membrane close to the center of the drain and moving outwards. Continue to smooth out the membrane around the drain until the entire membrane is adhered to the wedge panels. Note: Use moderate pressure when smoothing and spreading the sealant underneath the membrane. A continuous layer of sealant MUST remain under the membrane.
Spread the excess GoBoard Sealant or GoBoard Pro Sealant around the perimeter of the membrane. Then apply a 1/8-in bead of sealant around the perimeter of the PVC drain flange and spread with a putty knife. Once the sealant skins over, you may begin tiling.
PLACE THE DRAIN RISER & GRATE
Install the drain cover assembly into the center of the drain. The radial fins are designed to accomodate most 2-in drain cover assemblies while allowing for easy removal and repositioning during tiling. The final height of the drain grate needs to match the height of the installed tile.
Make all necessary preparations for installing tile. Mix thin-set mortar per manufacturer instructions. Using a putty knife, pack thin-set mortar underneath the drain cover assembly.
Begin installing tile around the drain. Using a rubber mallet, gently level the drain cover assembly with the surrounding tile if needed. Set the remaining tile. After the tile installation is complete, grout the enclosure and grout or caulk around the drain riser and grate while ensuring the drain grate remains removeable.
HIGH PERFORMANCE - TRUSTED QUALITY
The GoBoard product line includes Polyiso foam board panels, a versatile shower pan kit, and essential tile backer accessories that when installed as a system, can qualify for a manufacturer limited warranty. Need help with one of our products? Contact us with your warranty questions, or download the warranty certificate in the documents above.
