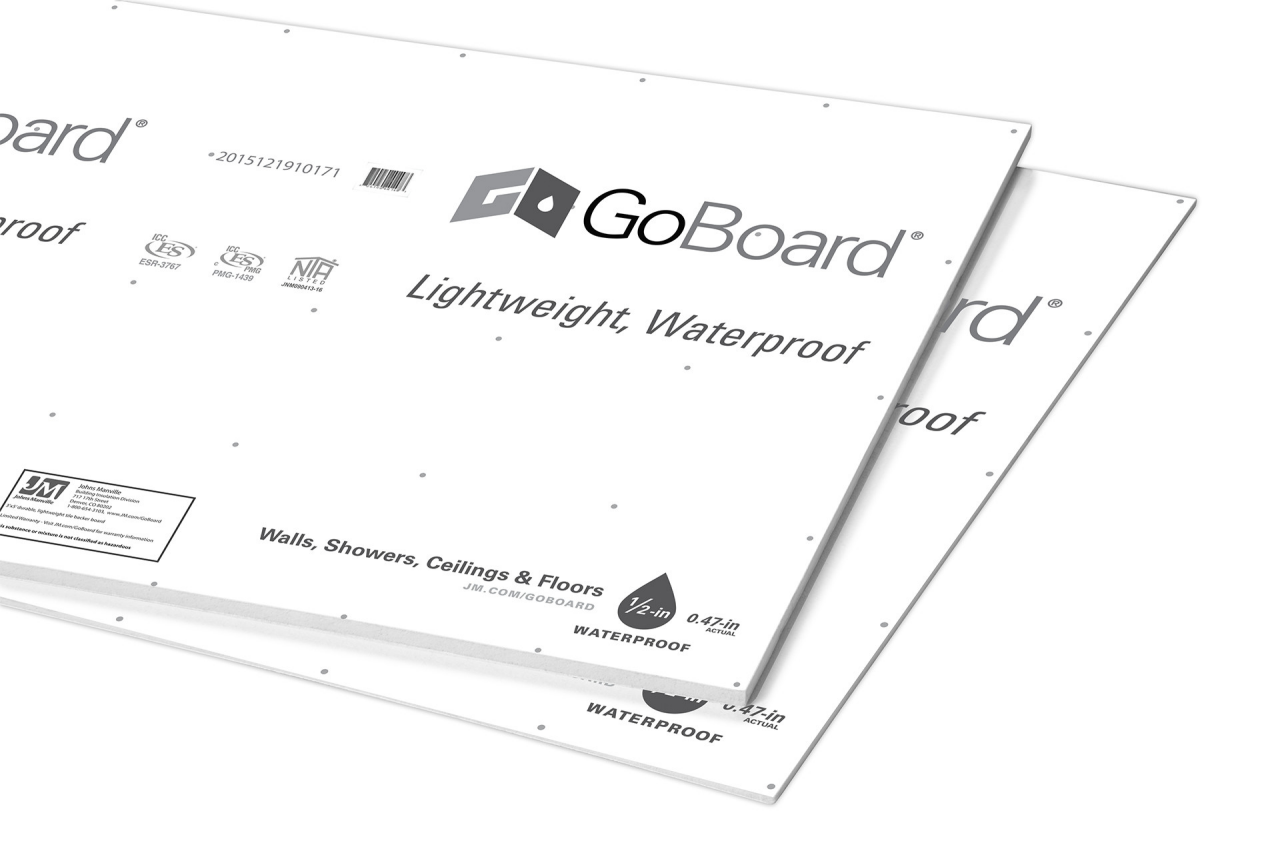
GoBoard

GoBoard

Product Descriptive Name
Tile Backer Board
Product Short Description
GoBoard® is a waterproof tile backer engineered for speed and durability, requiring less steps for same-day tile. GoBoard can be used in any tiling project to complete your underlayment installation in half the time or less.

Product Details

GoBoard

GoBoard by Johns Manville is an ultra-lightweight, waterproof, durable tile backer board that is easy to cut and install, and weighs up to 85% lighter than traditional cement boards allowing for same-day tile. GoBoard is engineered and tested for strength and durability, yet can be cut right where it’s installed using a standard utility knife with minimal dust. The GoBoard product line includes Polyiso foam board panels, a versatile shower pan kit, and essential tile backer accessories that when installed as a system, can qualify for a manufacturer limited warranty. 

Features

GoBoard

Fast Installation Complete tile projects in half the time or less with no mess.

Ultra-lightweight Up to 80% lighter than cement boards, yet engineered for durability.

East to Cut & Handle Simply cut with a utility knife and attach with GoBoard Fasteners or GoBoard Washers.

Waterproof Built-in Seal only the board joints and fastener penetrations for a waterproof tile assembly per GoBoard installation instructions.

Available in six thickness for walls, ceilings, showers, tub surrounds, benches, vanities, floors, and countertops.

Documents

GoBoard FAQs

LET'S TALK TILE™

Check here for the most frequently asked questions about GoBoard Tile Backer. Reference our technical documents  below to read our technical data sheets, installation instructions, and product certificates. More questions are answered in our brochure.

GoBoard Installed In Laundry Room

Yes, the core of Johns Manville GoBoard is waterproof, passing ASTM D4068 testing and easily achieving an ASTM E96 perm rating of < 1.0. Water will not pass through the board as it will with cement boards, which require separate waterproofing over the entire board. Seal only the board joints and fastener locations for a waterproof tile assembly.*

*Board joints and fastener locations require a waterproof sealant per GoBoard installation instructions.

GoBoard Tile Backer is available in the following sizes and thicknesses:

3-ft by 5-ft panels

  • 1/4-in, and 1/2-in thick

4-ft by 64-in panels

  • 1/2-in thick

4-ft by 8-ft panels

  • 1/4-in, 1/2-in, 5/8-in, 1-in, 1.5-in, and 2-in thick

Yes, Johns Manville Goboard is paintable, and drywall compound adheres to GoBoard better than it does paper-faced drywall. However, GoBoard may have surface imperfections requiring additional steps to cover.

Yes, Johns Manville GoBoard can be used in exterior applications. Download the complete manufacturer installation instructions, including Technical Evaluation Report 1811-01 in the documents below.

Download the Manufacturer's Limited 10 Year Warranty certificate in the documents below.

Using your zip code, you can find a GoBoard supplier by searching our partner locator resource.

Be sure to check-mark the GoBoard product boxes in the search criteria. (Use the gear icon on mobile devices)


Installation

GoBoard Installed

WATERPROOFING IS BUILT-IN

Every tiling project requires a durable surface under the tile, called a tile backer board. GoBoard from Johns Manville is a line of tile backer board products that provides high performance, and ease of installation.

WOOD FLOORS

Framing:

  • All framing shall comply with local building code requirements.
  • Support framing must be designed for a maximum allowable assembly deflection of L/360 (L/720 for stone) under all intended live loads.

Control Joints:

  • Consult TCNA Handbook installation Method EJ171.
  • Location, width and details of control joints should follow sound architectural practices.
  • Architect, builder or design professional must specify location of all control joints.

Subfloor:

  • Joist spacing should not exceed 24" on-center.
  • Exterior grade 5/8" plywood or ¾" OSB should be securely glued and fastened to joists.

Installation:

  1. Measure, cut through outer facing with a utility knife and quickly apply downward pressure to snap. As an alternative, completely cut through GoBoard using several strokes of a utility knife or a power tool. See Safety and Handling section for proper PPE and precautions.
  2. Stagger all board joints, ensuring that they do not line up with subfloor joints, and leave an 1/8" gap between all corners, edges and changes of plane.
  3. Apply mortar, as specified in the Approved Materials section, to the subfloor, combing it into a ribbed setting bed with a ¼" square notched trowel.
  4. Laminate pre-cut GoBoard to subfloor by firmly pressing into mortar, ensuring that it is fully embedded.
  5. Fasten with GoBoard® Fasteners flush to surface of board at a maximum spacing of 8" and within ½" - 1" of perimeter edges. For alternative fasteners specified in the Approved Materials section, maximum spacing is 6".
  6. Completely fill all joints with GoBoard Pro Sealant or GoBoard Sealant and spread sealant at least 1” on either side of joint using a putty knife. Cutting a 1/8” to ¼” hole in the sealant nozzle will help force sealant into joint. Immediately apply optional GoBoard Seam Fabric over sealant using a clean putty knife and gentle sweeping motion. Do not soak through fabric with sealant. Finally, seal all fasteners with minimum 2” patch of sealant.

CONCRETE FLOORS

  • Ensure that concrete floor is clean and fully cured and pre-fill surface imperfections with mortar, as specified in the Approved Materials section.
  • Follow wood floor installation instructions, however, skip the fastening step and ensure that GoBoard is fully embedded in the mortar.

EXTERIOR FLOORS, DECKS, AND BALCONIES

  • Exterior surface being tiled must be sloped ¼” per foot away from any structures and relatively flat to ensure proper drainage.
  • Consult TCNA Handbook installation methods F101 thru F105 depending on type of exterior tile installation. GoBoard can be used as the waterproof tile underlayment meeting ANSI A118.10 requirements.
  • Consult TCNA Handbook installation method EJ171 for control and expansion joints.
  • Follow measuring and cutting instructions outlined in previous sections.
  • Follow GoBoard installation instructions for wood and concrete subfloors outlined in previous sections.
  • When installing tile, include soft joints every 8 feet following EJ171.

WALLS

Framing Requirments:

  • All framing should comply with local building code requirements.
  • Framing members shall be spaced a maximum of 16" on-center and minimum 2"x 4" nominal (wood) or No. 20 gauge (metal).
  • Studs shall be furred out flush with receptors and GoBoard vertical edges should be continuously supported.
  • As an alternative to furring strips, GoBoard can be wet-shimmed by applying thin-set mortar directly to studs.

Installation:

  • Measure, cut through outer facing with a utility knife and quickly applydownward pressure to snap. As an alternative, completely cut through GoBoard using several strokes of a utility knife or a power tool. See Safety and Handling section for proper PPE and precautions.
  • Install GoBoard leaving 1/8" gaps between all board edges, corners and changes of plane. GoBoard Spacers, tile spacers or paint sticks can be used to help maintain proper gapping between boards while installing fasteners. Fasten GoBoard to studs with GoBoard Fasteners flush to the surface of the board at a maximum spacing of 8" and within ½" of supported edges. For alternative fasteners specified in the Approved Materials section, the maximum spacing is 6".
  • As an alternative to traditional fasteners, fasten GoBoard to the studs with GoBoard Washers at a maximum spacing of 12".
  • For waterproof applications requiring ANSI A118.10, seal all joints and fastener penetrations with GoBoard Pro Sealant, GoBoard Sealant or a sealant specified in the Approved Materials section.
  • Once all boards are installed with required 1/8" gaps, seal joints by liberally Seal joints by liberally applying a continuous bead of sealant making sure to completely fill 1/8”gaps. Cutting a 1/8" to ¼” hole in the sealant nozzle will help force sealant into joint. Spread excess sealant with a putty knife at least 1" beyond either side of joint keeping in mind the slightest pin hole may result in a leak, so careful attention is required when sealing joints. Depending on climate, sealant can begin to skin over in as little as 15 minutes.
  • Optionally, joints can be reinforced with GoBoard Seam Fabric following detailed instructions at www.jm.com/goboard.
  • Once all board joints are sealed, seal fastener penetrations by applying a large bead of sealant over each fastener and then spread sealant with a putty knife making sure each fastener is completely covered with sealant.

COUNTERTOPS

  • Securely fasten ¾" exterior grade plywood to cabinet ensuring maximum surface variation is no more than 1/8" in 10' from the required plane.
  • Follow instructions for wood floors in previous section.

THICK BOARD GUIDE (1-in, 1.5-in, and 2-in)

  • Cut with circular saw, table saw or other power tools capable of cutting straight and square. Cutting with utility knife is possible, but requires cutting from both sides.
  • GoBoard edges can be machined, but removing large amounts of material from one side of board may result in curling.
  • GoBoard Pro Sealant, GoBoard Sealant and mortar will adhere directly to foam edges or exposed foam.
  • When constructing tub surrounds, benches and other tileable features, adhere pieces together with GoBoard Pro Sealant or GoBoard Sealant. Long wood screws can be used to secure feature while sealant cures. For waterproof applications, seal all penetrations.
  • As with thinner GoBoard products, the foam core is waterproof. Thus, no additional waterproofing is required when installing tile direct to exposed foam.

SHOWERS

  • Follow instructions for walls, in the previous section.

STEAM SHOWERS

Residential:

  • Follow GoBoard instructions in previous sections and then install GoBoard Membrane following instructions at www.jm.com/goboard. Alternatively, install a manufacturer approved vapor barrier directly to the wall studs an ceiling framing behind GoBoard, per manufacturer’s instructions or a liquid waterproofing membrane specified in the Approved Materials section. 

TUB SURROUNDS

  • Follow instructions for walls, in the previous section.

CEILINGS

Framing Requirements:

  • All framing should comply with local building code requirements and must be capable of supporting total system dead load with deflection not to exceed L/360 of the span.
  • Framing members shall be spaced a maximum of 16" on-center and GoBoard edges should be continuously supported.

Installation:

  • Starting on one edge of the ceiling, measure the first GoBoard to orient in the same length-wise direction as the wall installation and then proceed with cutting methods as previously discussed.
  • Install fasteners, seal joints, change of plane joints and fastener penetrations following wall instructions.

APPROVED MATERIALS

Fastening

  • Wood – GoBoard Fasteners (1¼-in and 1 5/8-in long), GoBoard Washers, backer board screws (1¼ and 1 5/8-in long), galvanized roofing nails (minimum 1½-in long) or 16 gauge galvanized staples (minimum 1-in x 1-in).
  • Steel Framing – GoBoard Fasteners (1¼-in and 1 5/8-in long), GoBoard Washers, or backer board screws (1¼-in and 1 5/8-in long).

Bonding

  • Dry set mortar compliant with ANSI A118.1 standard or Polymer modified thin-set mortar compliant with or ANSI A118.4 standard. 

Joint Sealing

  • GoBoard Pro Sealant, GoBoard Sealant, approved alternative sealants, or GoBoard Banding plus accessories.

Liquid Waterproofing Membrane

  • Approved product list is available in the approved alternative sealants document.

Grout

  • Cement grout compliant with ANSI A118.6 standard, high performance cement grout compliant with ANSI A118.7 standard or epoxy grout compliant with ANSI A118.8 standard.

Tools

  • Utility knife, scissors, pencil or pen for marking, straight edge, T-square, measuring tape, flat putty knives with blunt edges, corner putty knife, appropriate screw fastening device, ¼-in square notched trowel, 3 /16-in x 5/32-in v-notch trowel, caulk gun and paint roller (for liquid sealant).

* A typical shower project, waterproof installation, following manufacturer’s installation instructions.
** Only board joints and fastener locations require GoBoard Pro Sealant or approved alternative waterproof sealant.

Warranty

HIGH PERFORMANCE - TRUSTED QUALITY

The GoBoard product line includes Polyiso foam board panels, a versatile shower pan kit, and essential tile backer accessories that when installed as a system, can qualify for a manufacturer limited warranty. Need help with one of our products? Contact us with your warranty questions, or download the warranty certificate in the documents above.